So after making pages about different hardware projects, it looks like the Piboy Advance is the easiest place so start. I ended up using this driver (https://github.com/juj/fbcp-ili9341), which ended up being a lot easier than I thought it would be. Rather than installing some blob with god-knows-what in it, you clone the code, compile it and then execute the binary. And it only took me a couple of tries with trial and error to get something that worked.
$ cmake -DWAVESHARE35B_ILI9486=ON -DSPI_BUS_CLOCK_DIVISOR=30 -DDISPLAY_ROTATE_180_DEGREES=ON ..
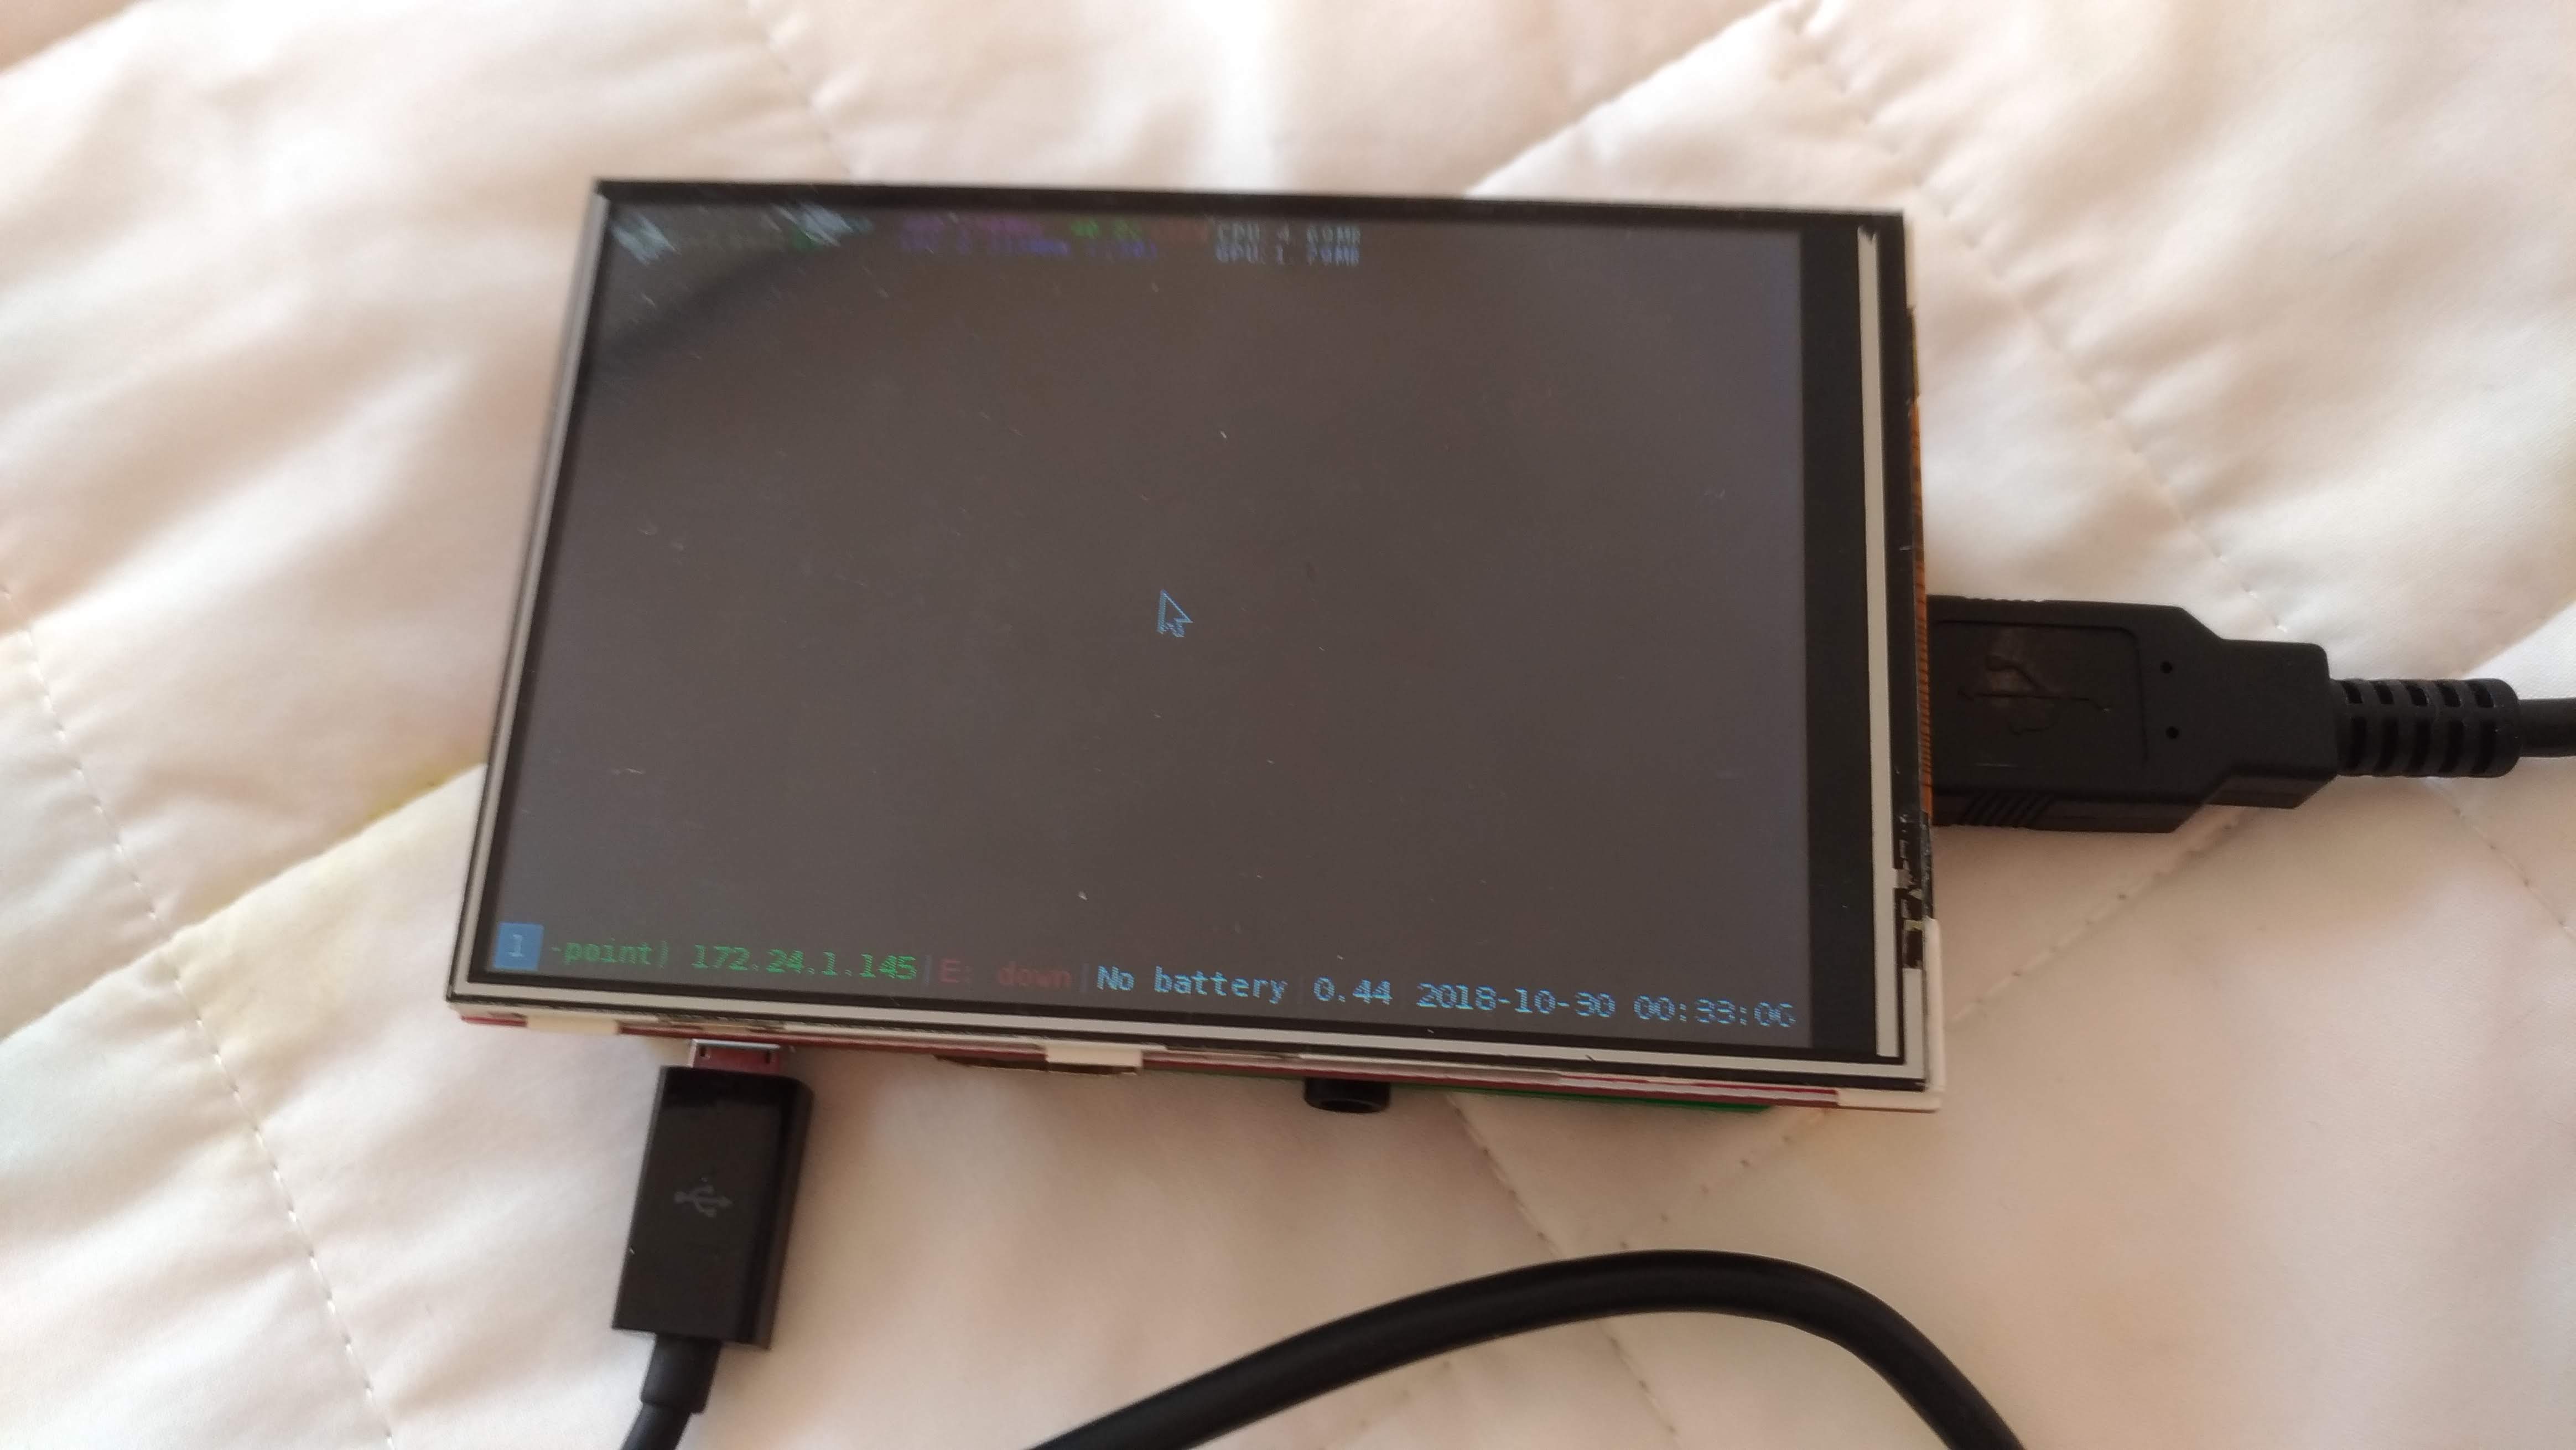
There’s still the matter of tuning the display. Which seems to be kind of hit and miss. The framerate is displayed in the upper lefthand corner. Except the pi needs to be running some kind of task to actually display this number. So Open Tyrian seems like a good candiate for testing. I’ve found several install instructions for Tyrian on the internet, but I’ve never had any luck with it. I decided to poke around in the RetroPi github repository and finally found something that works, mostly by shear stupid luck. Though unfortunately it doesn’t look like my bash history was saved for some reason. So if I come across it later. I’ll have to write a post just for that.
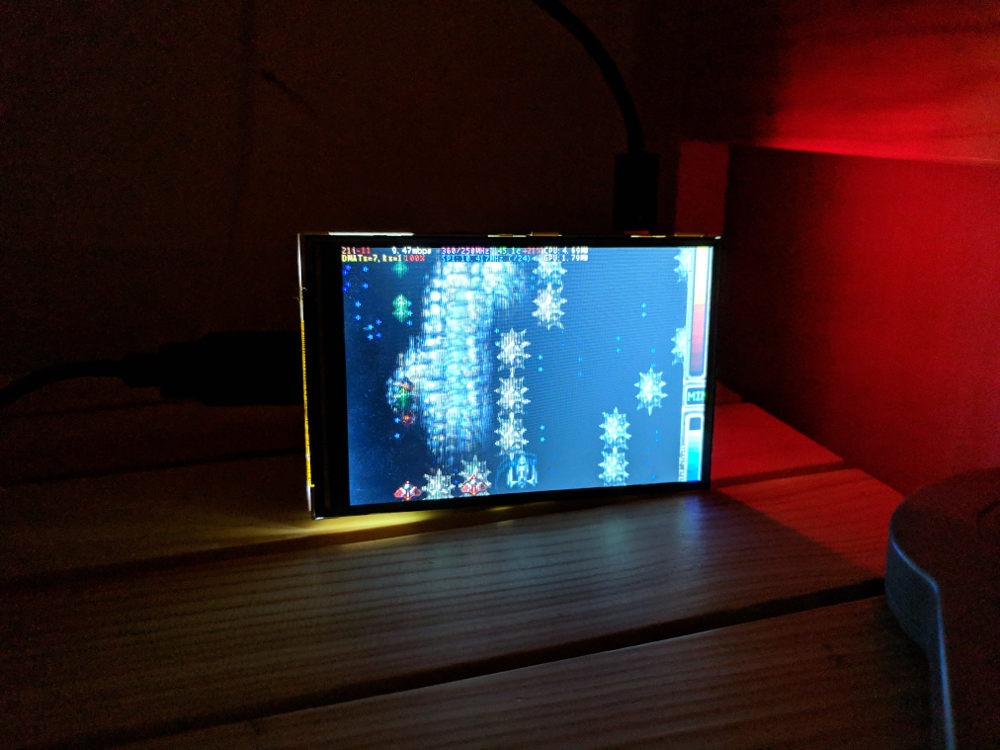
We have a completely different and more fundamental problem that this screen is completely garbage. It’s true that I haven’t done any tuning to make the screen have the right refresh rate. But more fundamentally the backlight bleed on this screen is so bad it’s hard to make out anything. I’m going to try and track down an adafruit screen and see if that makes an improvement.
Edit:
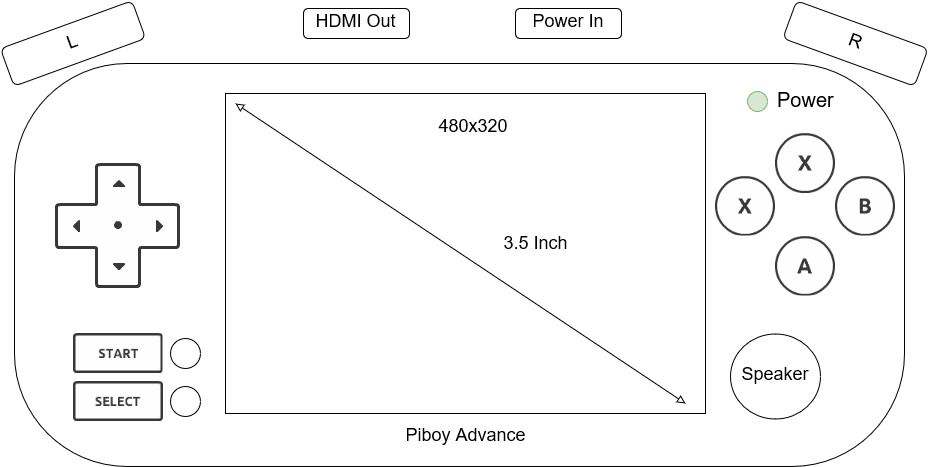
After looking around at screen hats, it seems like it would pretty much be easier to use the official screen. Which I’m not a fan of, because it blocks access to the sd card slot. I think it might be easier to set the usb boot bit, and then use a usb device for booting. That way I can switch out usb’s without having to take the whole thing apart each time.