Libre me from Evil

Managed to get my Nexus 5x working with Lineage. The problem was me being stupid and not reading directions. I needed to flash Twrp to the recovery, boot to the recovery, install Lineage and then select boot to system. The next issue is going to be getting the APN settings to work, which always seems to be hit and miss. So we’ll see how stupid I am to get or not get that.

So I’ll use this post to save some of my Bless Preferences:

<preferences>
	<pref name="Session.RememberCursorPosition">True</pref>
	<pref name="Tools.ConversionTable.LEDecoding">False</pref>
	<pref name="Default.EditMode">Overwrite</pref>
	<pref name="Tools.ConversionTable.Show">False</pref>
	<pref name="Tools.Statistics.Show">False</pref>
	<pref name="Session.RememberWindowGeometry">True</pref>
	<pref name="Highlight.PatternMatch">True</pref>	
	<pref name="Undo.KeepAfterSave">Memory</pref>
	<pref name="View.Toolbar.Show">True</pref>
	<pref name="Default.NumberBase">Hexadecimal</pref>
	<pref name="View.Statusbar.Offset">True</pref>
	<pref name="Default.Layout.File"></pref>
	<pref name="View.Statusbar.Show">True</pref>
	<pref name="Undo.Limited">False</pref>
	<pref name="Default.Layout.UseCurrent">False</pref>
	<pref name="Session.LoadPrevious">True</pref>
	<pref name="View.Statusbar.Overwrite">True</pref>
	<pref name="Session.AskBeforeLoading">False</pref>
	<pref name="Undo.Actions">100</pref>
	<pref name="View.Statusbar.Selection">True</pref>
	<pref name="ByteBuffer.TempDir"></pref>
</preferences>


Oh Meh Gawd

Not sure what’s going on. Tried to install Lineage on my Nexus 5X. Similar story, to the Google Pixel, everything works until it doesn’t. In this case booting into TWRP and installing works without incident, but then the device just gets stuck at the Google logo on boot. I guess I’ll hvae to search around a little more or make the reddit post of shame asking for help.

Moving on, we have other priorities to work on. I want to finish the rest of the Sealos island maps to get those out of the way. I found that it’s pretty easy to hop into Inkscape and sketch out an SVG to import into Blender. The problem in Blender is that the mesh isn’t centered, and then doesn’t scale correctly. So I’ll have to try Librecad to see if there’s any improvement there, or otherwise I’ll just take the time to do the last few by hand.

Libre Planning

Since I can’t get Lineage OS working on my Google Pixel, it’s time to start thinking about a back up. Right now I’m thinking the white & black 32GB Nexus 5x. It should have a semi-decent camera, nano-SIM and usb type C connection. And they’re really coming down in price. So I think I’ll get one next year, once my allowance resets.

For my Nextcloud Pi setup to go with it. I think I’ll just use a low-capacity 32GB SD card to host the OS, and then for storage, I think I can use a 256GB usb. And maybe potentially even use two USB’s to mirror all of the data on them for a fail-over solution. I don’t think the NextCloud needs any kind of performance for the memory, so I think I can just use some small usb’t to get two on a system. And then if I need some performance, I can look into active cooling, but I think it should be okay with a decent heat spreader.

The main problem is the desktop. For the monitor I want something at least 15.6″. And I want something usb powered. Which could be a problem, since I think most monitors at that size will want 12V. But on this end, I think it might just be a better idea to borrow some monitors from work and not think about it too much.

On the desktop side, I think it’s pretty easy to put what I want together, but the hard part is getting it into a case. For the storage I can use an SSD, I found a stupidly large heat sink, and then I can probably grab a USB fan for cooling, or maybe even leave it passively cooled. The hard part is finding a case to fit these into, and I’m tempted to give the NES case another try.

Random Thoughts

1. After finding this link, I tried installing LineageOS on my pixel again. Only for it to completely fail exactly as it did before. I have to admit that I am more than a little pissed of that the ROM didn’t work. I guess I’ll use the device with Android as-is, and then wait a few months. Or I could try selling it and moving onto a different phone. The latter option actually sounds better.

2. I’m having terrible luck with technology lately. I couldn’t get Jaxer to compile on Raspbian lite, so i guess I’ll have to stick with Minibian for the time being. I guess my main focus should be to get the install down into a script that can be run for testing. For testing compile times, I can probably set up a few devices, and then mount storage on the /opt/ drive and then time how long the process takes. And just in general I would like to have this automatied to test the post-install process.

3. I’m going to start drafting out the new homepage for dashgl.com. TO be cheap I’m tempted to host the page from home again. Potentially with a dynamic DNS option. To save money on an email provider, I can probably use the free option of farwarding emails to my current account.

“Dash” text :
https://www.1001fonts.com/rexlia-free-font.html
https://www.1001fonts.com/answer-font.html

Compiling Jaxer

https://www.1001fonts.com/nasalization-free-font.html
https://www.1001fonts.com/johnny-fever-font.html
https://www.1001fonts.com/hobbyhorse-font.html
https://www.1001fonts.com/leprosy-font.html
https://www.1001fonts.com/moonmonkey-font.html
https://www.1001fonts.com/trunkmill-font.html

Patches:

1. /opt/Jaxer/src/mozilla/xpcom/threads/nsTimerImpl.cpp change ‘private’ to ‘protected’ on line 460
2. /opt/Jaxer/src/mozilla/netwerk/streamconv/converters/nsBinHexDecoder.cpp add ‘signed’ on line 101
3. Replace SCALEBITS in nsJPEGDecoder.cpp with https://raw.githubusercontent.com/mozilla-services/services-central-legacy/master/image/decoders/nsJPEGDecoder.cpp
4.

/opt/Jaxer/src/mozilla/security/manager/ssl/src/nsPKCS11Slot.cpp: In member function ‘virtual nsresult nsPKCS11ModuleDB::GetInternal(nsIPKCS11Module**)’:
../../../../dist/include/nss/secmodt.h:340:71: error: unable to find string literal operator ‘operator""fips’ with ‘const char [131]’, ‘unsigned int’ arguments
 "Flags=internal,critical"fips" slotparams=("#slot"={"SECMOD_SLOT_FLAGS"})"

https://gcc.gnu.org/bugzilla/show_bug.cgi?id=50917

5.

/opt/Jaxer/src/mozilla/config/rules.mk:1296: recipe for target 'JaxerManagerUnix.o' failed
make[4]: *** [JaxerManagerUnix.o] Error 1
make[4]: Leaving directory '/opt/Jaxer/src/mozilla/ff-release/aptana/manager'
/opt/Jaxer/src/mozilla/config/rules.mk:635: recipe for target 'libs_tier_app' failed
make[3]: *** [libs_tier_app] Error 2
make[3]: Leaving directory '/opt/Jaxer/src/mozilla/ff-release'
/opt/Jaxer/src/mozilla/config/rules.mk:647: recipe for target 'tier_app' failed
make[2]: *** [tier_app] Error 2
make[2]: Leaving directory '/opt/Jaxer/src/mozilla/ff-release'
/opt/Jaxer/src/mozilla/config/rules.mk:604: recipe for target 'default' failed
make[1]: *** [default] Error 2
make[1]: Leaving directory '/opt/Jaxer/src/mozilla/ff-release'
client.mk:1140: recipe for target 'build' failed
make: *** [build] Error 2

Data:

Storage Pi 3B Pi 3B+
Silicon Power
class10 UHS-1Link
real 81m1.065s
user 68m50.729s
sys 4m49.798

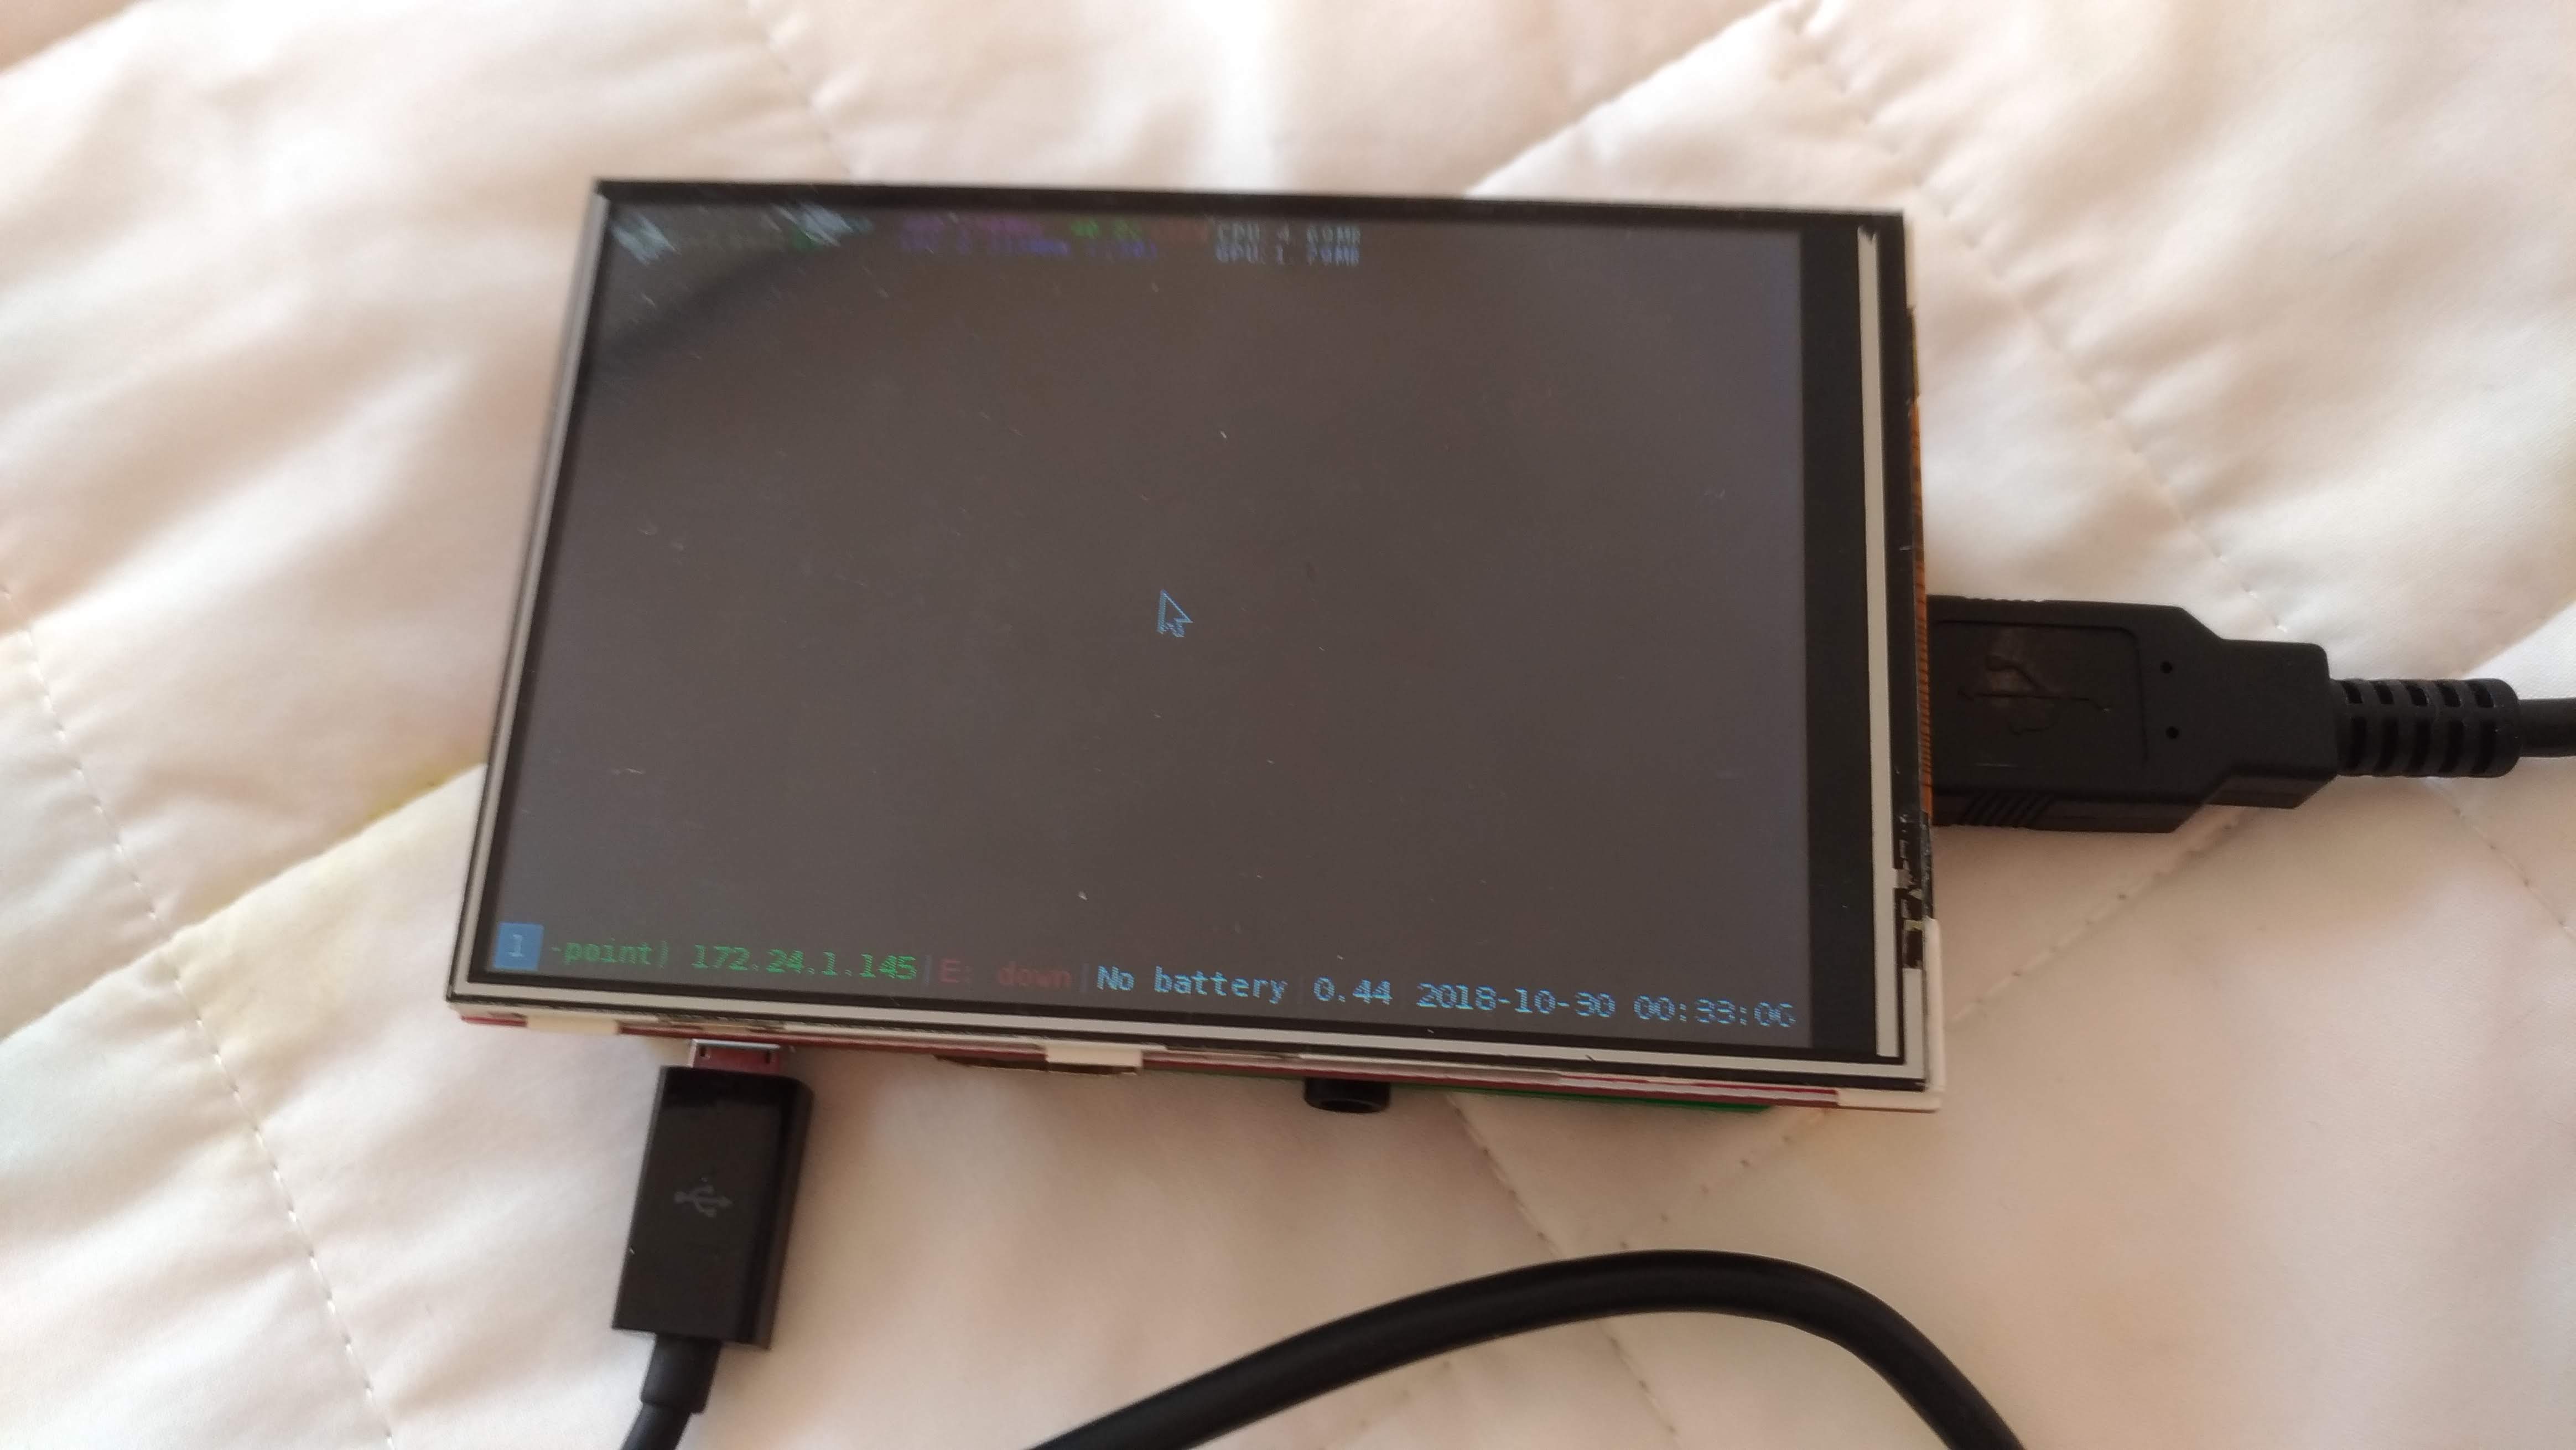
So this experiment took an unexpected turn. I’ve been wanting to test different types of storage with compiling Jaxer to see what variables either help or hurt the time it takes to compile. Though up until now I’ve only compiled Jaxer on minibian, which is somewhat of an involved process. So when I realized I couldn’t boot minibian from a usb drive, I thought I might as well skip on this stupid idea, or try compiling Jaxer on Raspbian lite for shits and giggles. And it turns out there’s not a lot to patch.

Not only is there not a lot to patch, but compiling on Raspbian means I don’t have to expand the file storage on boot. So I can getrid of that part, and I can potentially include a version of the mysql lib required in the github repo, and maybe even grab apr from the apache2-utils repo, which would mean that I could get the process to compile Jaxer down into a really short shell script, which would make compiling and testing hella easy. So it’s still compiling, hopefully it will be done before I need to go to sleep.

Pi Official Screen

Seems like the official screen is the best option. And since I already have one, technically cheaper than buying anything new.

Right now I have the usb boot bit set to be able to boot from usb.
Need to figure out how to set backight, to make it less bright in general.

Also probably needs a power switch to stay plugged in, and be able to turn on and off.

Probably going to install i3wm, and then use bluetooth devices to connect to it.

Piboy Screen

So after making pages about different hardware projects, it looks like the Piboy Advance is the easiest place so start. I ended up using this driver (https://github.com/juj/fbcp-ili9341), which ended up being a lot easier than I thought it would be. Rather than installing some blob with god-knows-what in it, you clone the code, compile it and then execute the binary. And it only took me a couple of tries with trial and error to get something that worked.

$ cmake -DWAVESHARE35B_ILI9486=ON -DSPI_BUS_CLOCK_DIVISOR=30 -DDISPLAY_ROTATE_180_DEGREES=ON ..

There’s still the matter of tuning the display. Which seems to be kind of hit and miss. The framerate is displayed in the upper lefthand corner. Except the pi needs to be running some kind of task to actually display this number. So Open Tyrian seems like a good candiate for testing. I’ve found several install instructions for Tyrian on the internet, but I’ve never had any luck with it. I decided to poke around in the RetroPi github repository and finally found something that works, mostly by shear stupid luck. Though unfortunately it doesn’t look like my bash history was saved for some reason. So if I come across it later. I’ll have to write a post just for that.

We have a completely different and more fundamental problem that this screen is completely garbage. It’s true that I haven’t done any tuning to make the screen have the right refresh rate. But more fundamentally the backlight bleed on this screen is so bad it’s hard to make out anything. I’m going to try and track down an adafruit screen and see if that makes an improvement.

Edit:

After looking around at screen hats, it seems like it would pretty much be easier to use the official screen. Which I’m not a fan of, because it blocks access to the sd card slot. I think it might be easier to set the usb boot bit, and then use a usb device for booting. That way I can switch out usb’s without having to take the whole thing apart each time.